
Sep 14th 2026
How to use a fish finder
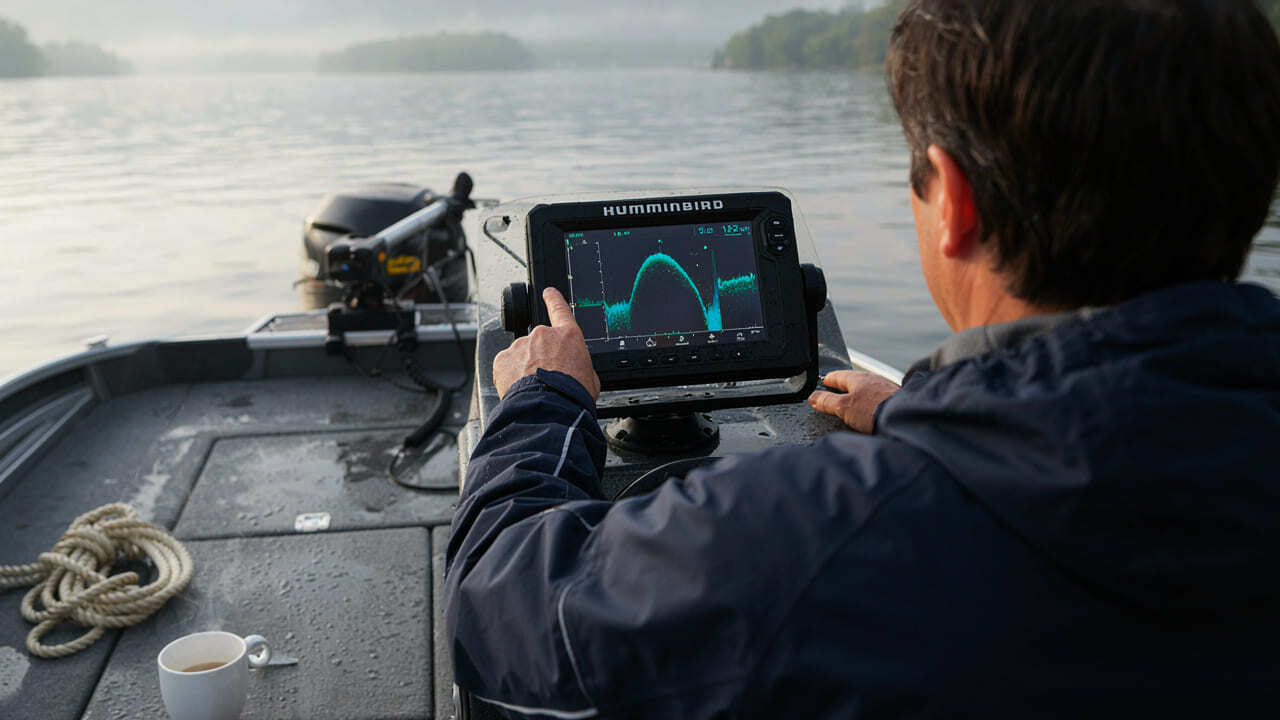
A fish finder can take a lot of the guessing out of fishing. It can show you water depth, changes along the bottom, underwater structure, and fish below or around your boat.
But if you have never used one before, the screen can look a little confusing. There may be lines, arches, colors, numbers, and symbols moving across the display while you are trying to figure out what any of it means.
The good news is that you do not need to understand every setting before you start using a fish finder.
Start with the basics. Learn what you are looking at, spend some time on the water, and make small adjustments as you go.
Here is how to use a fish finder and get more useful information from it.
What Does a Fish Finder Do?
A fish finder uses sonar to help you see what is underneath your boat.
The transducer sends sound waves into the water. Those waves bounce off the bottom, fish, weeds, rocks, and other objects. The fish finder uses those returns to create the image you see on the screen.
In simple terms, it helps answer a few important questions:
- How deep is the water?
- What does the bottom look like?
- Are there weeds, rocks, drop-offs, or other structure?
- Are fish showing up?
- At what depth are the fish?
Some fish finders also have GPS, lake maps, side imaging, down imaging, or forward-facing sonar. Those features can be useful, but you can catch plenty of fish by learning how to use basic sonar first.
Start With the Depth Reading
One of the easiest things to understand on a fish finder is the depth.
Most units show the current water depth in a large number somewhere on the screen.
Pay attention to how that number changes as you move.
If you go from 8 feet of water to 18 feet fairly quickly, you may be crossing a drop-off. Those changes in depth are often worth fishing because fish commonly use edges, points, humps, and other changes in the bottom.
Here in Minnesota, you might use your fish finder to follow the edge of a weed line, find a deeper hole, or locate a drop-off leading away from shore.
Do not only look for fish symbols. Learning the shape of the lake bottom can be just as useful.
Learn What the Bottom Looks Like
The bottom usually appears as a solid line running across the lower part of your fish finder screen.
As your boat moves, you will see the shape of the bottom change.
A flat bottom will look fairly level. A drop-off will show the bottom moving deeper on the screen. A hump will rise and then drop again.
You may also notice that the bottom line looks thicker or stronger in some areas.
Different fish finders display bottom hardness differently, but stronger returns can often point to harder areas such as rock, gravel, or packed sand. Softer bottoms such as mud may appear less defined.
The exact appearance depends on your fish finder and your settings, so it helps to compare what is on the screen with areas of the lake you already know.
What Do Fish Look Like on a Fish Finder?
On traditional sonar, fish often appear as arches or partial arches.
A perfect arch is not required.
Sometimes a fish may look like:
- A full arch
- Half of an arch
- A short curved line
- A thicker mark
- A group of small marks
What you see depends on the fish, your boat speed, the fish's location under the transducer, and your sonar settings.
Many fish finders also have a fish symbol setting that places small fish icons on the screen.
That can make things easier for beginners, but it is worth learning how to read the actual sonar returns. Once you get used to them, you will have a better idea of what is really happening below the boat.
Pay Attention to the Depth of the Fish
Finding fish is useful. Knowing how deep they are is even better.
For example, say you are in 20 feet of water and most of the fish you see are sitting around 12 feet.
That gives you a starting point for where to put your bait.
Instead of fishing right along the bottom, you may want to keep your lure closer to 12 feet.
If the fish are holding tight to the bottom, you can change your presentation and work deeper.
This is one of the biggest benefits of using a fish finder. It helps you spend more time fishing the part of the water where fish are actually showing up.
Look for Structure, Not Just Fish
One mistake new fish finder users make is staring at the screen until they see a fish.
Fish move.
Good structure stays in place.
Keep an eye out for things like:
- Drop-offs
- Weed edges
- Rock piles
- Humps
- Points
- Sunken trees
- Changes from hard to soft bottom
- Deeper holes
If you find a good piece of structure, there is a good chance fish will use it at some point.
You may even find a spot with no obvious fish on the screen and catch fish there a few minutes later.
Think of your fish finder as a tool for learning what is under the water, not just a machine that tells you exactly where to cast.
Adjust the Sensitivity
Sensitivity controls how much information your fish finder shows.
Turn it too low and you may miss fish or smaller objects.
Turn it too high and the screen can become crowded with clutter.
Automatic sensitivity works well for many people, especially when you are first learning how to use a fish finder.
Once you get more comfortable, try adjusting it manually.
Make small changes and watch what happens on the screen.
You are looking for a setting that gives you a clear bottom reading and enough detail to see fish and structure without filling the screen with extra noise.
Set the Right Depth Range
Many fish finders automatically adjust the screen based on the water depth.
That is usually fine.
You can also set the depth range manually.
For example, if you are fishing in 15 feet of water, you probably do not need your fish finder displaying down to 100 feet.
Using a smaller range can make the part of the water you care about easier to see.
If you are moving between shallow and deep water often, automatic depth is usually the easier choice.
Understand What You Are Seeing While Moving
Traditional sonar does not show a live picture of everything directly underneath your boat in the way a camera would.
The screen scrolls as new sonar information comes in.
Usually, the newest information is displayed along one side of the screen while older information moves across the display.
That means a fish you see farther back on the screen may no longer be directly underneath the transducer.
This can take a little time to get used to.
One of the best ways to learn is to drive slowly over an area you already know. Watch what happens when you cross a weed line, move over a drop-off, or pass through deeper water.
Pretty soon, the screen starts making a lot more sense.
Use GPS and Mapping If Your Fish Finder Has Them
Many newer fish finders include GPS and lake mapping.
These tools can be just as useful as sonar.
If you find a good fishing spot, save it as a waypoint.
You can mark things such as:
- A productive weed edge
- A rock pile
- A drop-off
- A deep hole
- A spot where you caught fish
- An underwater point or hump
The next time you are on the lake, you can return to the same location instead of trying to find it again from memory.
Mapping can also help you follow depth contours and look for likely fishing areas before you even make your first cast.
What About Side Imaging and Down Imaging?
If your fish finder has side imaging or down imaging, you have a few more ways to look at what is in the water.
Down imaging gives you a more detailed view directly below the boat. It can make weeds, rocks, branches, and other structure easier to tell apart.
Side imaging looks out to the sides of the boat. This can help you cover more water while searching for structure or fish.
You do not have to use every sonar view at once.
If you are new to fish finders, start with traditional sonar and your map. Add the other views once you are comfortable with the basics.
Make Sure the Transducer Is Working Properly
Your fish finder is only as good as the information coming from the transducer.
A poorly positioned transducer can cause weak readings, missing depth information, or a lot of clutter on the screen.
If your fish finder works fine while sitting still but loses the bottom when the boat speeds up, the transducer position may need to be adjusted.
Also check that it is clean and free of weeds or debris.
Installation matters. Even an expensive fish finder can be frustrating if the transducer is mounted in the wrong place.
Do Not Spend the Whole Day Looking at the Screen
A fish finder is there to help you fish.
It should not become the only thing you pay attention to.
Use it to learn the depth, find structure, locate fish, and understand the area. Then put the rod in your hand and fish.
Sometimes the best-looking spot on the screen will not produce anything. Other times you will catch fish in an area that did not look very exciting.
That is fishing.
The fish finder gives you more information, but you still have to put the pieces together.
The Best Way to Learn a Fish Finder Is to Use It
You can read about sonar settings all day, but the fastest way to understand your fish finder is to spend time using it.
Start with the automatic settings.
Watch your depth.
Look at how the bottom changes.
Pay attention to fish marks.
Compare the screen with places on the lake that you already know.
Then start changing one setting at a time.
After a few trips, you will begin recognizing weeds, drop-offs, bottom changes, and fish without having to think much about it.
Need Help With Your Boat or Fish Finder?
Whether you fish the Sauk River Chain of Lakes or spend your summers exploring other lakes around Central Minnesota, a fish finder can help you learn the water and make better use of your time on the boat.
If you have questions about your boat setup, fish finder, or other marine equipment, contact Channel Marine & Sports in Richmond, MN.
We are always happy to talk boats, fishing, and time on the water.